
How to Offload WordPress Media to Cloudflare R2 (Step-by-Step)
WordPress and image bloat go together. A handful of blog posts with a few product photos, a couple of hero images, and some auto-generated thumbnail sizes, and your wp-content/uploads folder is suddenly bigger than your entire codebase. That's disk space you're paying your VPS provider for, and it's disk space your backups have to copy around every single day.
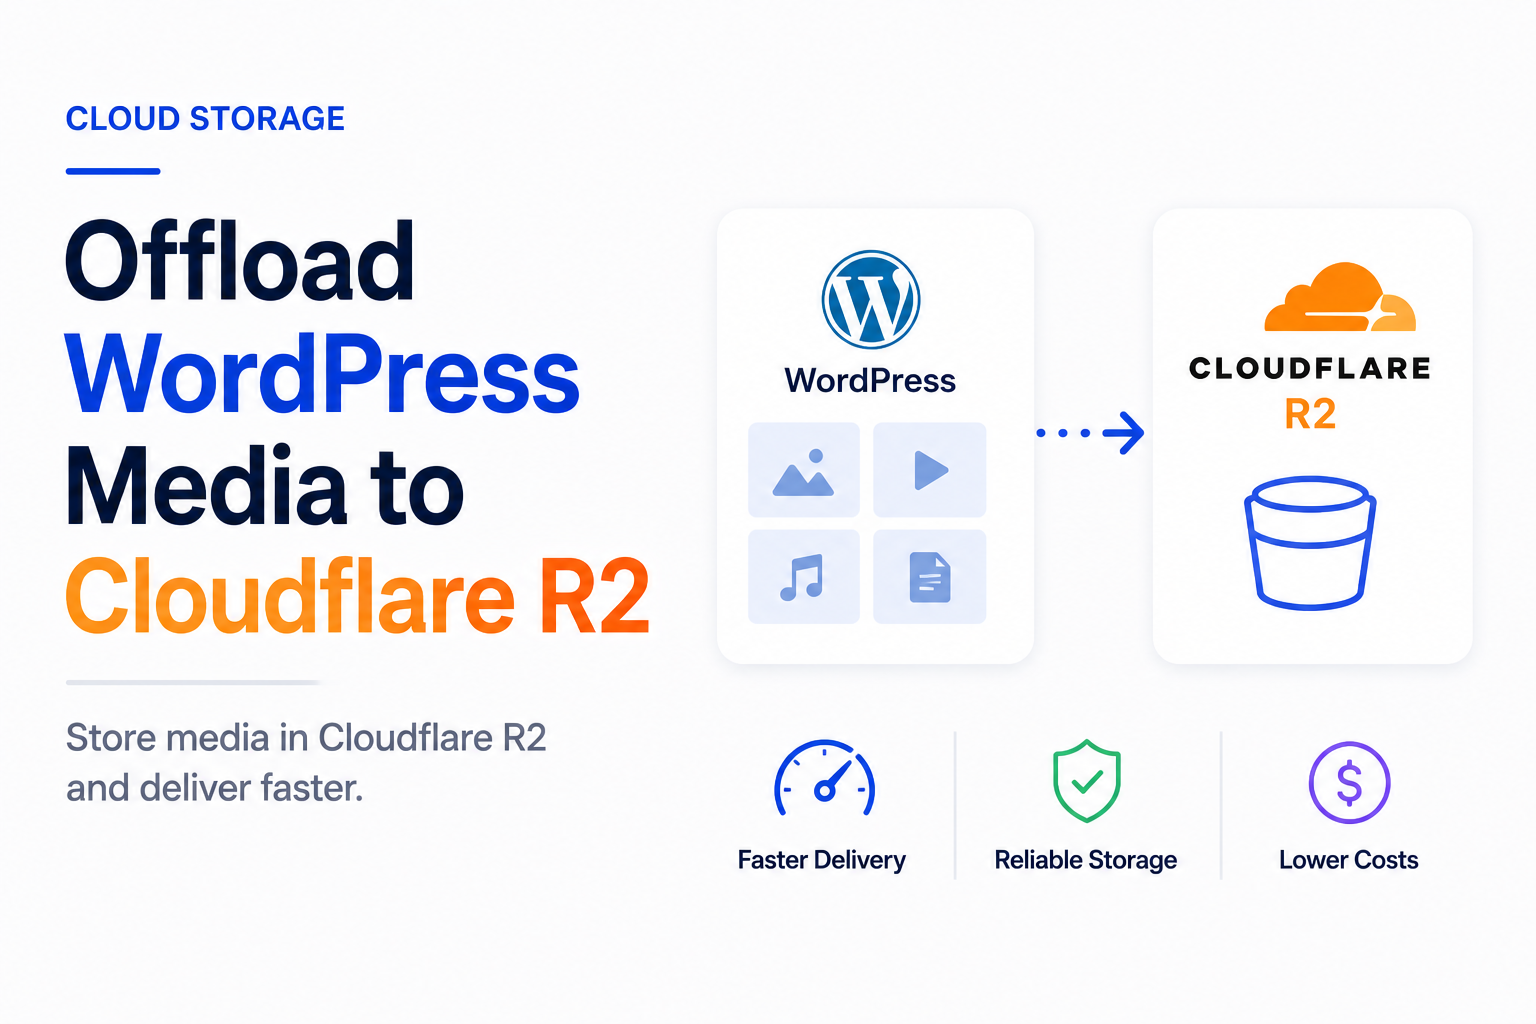
Cloudflare R2 fixes this cheaply: you move the media library to R2, WordPress keeps working exactly the same, and images get served through Cloudflare's CDN instead of your origin server. This is the step-by-step version — bucket setup, the actual WordPress connection, and the two ways to wire it up depending on whether you want a plugin or a bit more control.
Why R2 specifically, and not S3 or a local disk
Three things make R2 a better fit for this than the alternatives, and we covered the pricing in more detail in our cloud cost breakdown:
- No egress fees. This is the one that matters most for a media library. Amazon S3 charges roughly $0.09/GB every time someone loads an image from your bucket. R2 charges nothing to serve files out — you only pay for storage.
- A real free tier. 10 GB of storage, 1 million Class A (write) operations, and 10 million Class B (read) operations per month, free. Most small WordPress sites never leave this tier.
- It's S3-compatible. Any tool, library, or WordPress plugin built for Amazon S3 works against R2 with nothing more than a different endpoint URL and credentials.
Storage itself, beyond the free tier, is $0.015/GB per month — a 20 GB media library costs about $0.30/month to store.
Step 1: Create the R2 bucket
- In the Cloudflare dashboard, open R2 Object Storage and click Create bucket.
- Give it a name — something like
yoursite-media. Bucket names are permanent and can't be renamed later. - If this is your first R2 bucket on the account, Cloudflare will ask for a payment method before activating the service. You're still covered by the free tier; this is just how R2 billing is set up.
Step 2: Connect a custom domain (don't use the default r2.dev URL)
Every R2 bucket gets a default public URL on *.r2.dev. It's fine for testing, but Cloudflare explicitly rate-limits it and it's not meant for production traffic — your images will start failing under real load.
- Open your bucket → Settings → Public Access → Custom Domains.
- Click Connect Domain and enter a subdomain you control, e.g.
media.yoursite.com. - Cloudflare configures the DNS record automatically if the domain is already on Cloudflare.
Once connected, an uploaded file like logo.png is reachable at https://media.yoursite.com/logo.png — served through Cloudflare's CDN, cached at the edge, with no egress charge.
Step 3: Generate S3 API credentials
- In the R2 section of the dashboard, go to Manage R2 API Tokens → Create API Token.
- Scope it to the specific bucket rather than your whole account, and grant Object Read & Write.
- Save the Access Key ID and Secret Access Key — the secret is only shown once.
- Note your Account ID (visible in the dashboard sidebar). Your S3 API endpoint is
https://<ACCOUNT_ID>.r2.cloudflarestorage.com— without the bucket name.
Step 4: Connect WordPress
You have two realistic options here, and which one fits depends on how comfortable you are outside the WP-Admin dashboard.
Option A: A WP-Admin plugin (no code)
Several free plugins in the WordPress.org repository support R2 as an S3-compatible endpoint — search "R2 media offload" and you'll find a handful. The setup pattern is consistent across most of them:
- Install and activate the plugin, then open its settings page.
- Select "Custom S3-compatible" or "Cloudflare R2" as the provider.
- Enter your Account ID, Access Key ID, Secret Access Key, and bucket name.
- Set the Public URL to your custom domain (
media.yoursite.com), not the bucket name. - Run "Test Connection", then bulk-sync your existing media library.
Quality varies a lot between these plugins since most are built by small teams or solo developers rather than the WordPress core team — read recent reviews and check the "last updated" date before installing one on a production site, the same way you'd vet any third-party plugin.
Option B: A developer-maintained plugin, configured in code
If you're comfortable with Composer and wp-config.php, Human Made's S3 Uploads is a solid, actively maintained option with no admin UI to worry about — it's used in production on high-traffic sites. Install it with Composer, then define the bucket and credentials as constants before wp-settings.php loads:
define( 'S3_UPLOADS_BUCKET', 'yoursite-media' );
define( 'S3_UPLOADS_KEY', 'your-access-key-id' );
define( 'S3_UPLOADS_SECRET', 'your-secret-access-key' );
define( 'S3_UPLOADS_REGION', 'auto' );
define( 'S3_UPLOADS_BUCKET_URL', 'https://media.yoursite.com' );
define( 'S3_UPLOADS_ENDPOINT', 'https://<ACCOUNT_ID>.r2.cloudflarestorage.com' );
Then activate the plugin via WP-CLI and run its verify command to confirm the connection before migrating anything.
Step 5: Migrate your existing media library
New uploads will go straight to R2 once the plugin is active, but existing files still need to move. Both the WP-Admin plugins and S3 Uploads include a bulk migration tool for this — either a "Sync" button in the plugin settings, or a WP-CLI command if you went the developer route. For a large library (several thousand files), the CLI route is faster and less likely to time out than a browser-based bulk sync.
Keep local files in place until you've confirmed images load correctly from the new URLs — most plugins support a "cloud + local" mode for exactly this transition period, then a one-click switch to delete local copies once you trust the setup.
What actually changes for your VPS
Once media is on R2, your WordPress server stops touching image requests entirely — Cloudflare's CDN serves them directly from the edge. Two effects worth planning around:
- Smaller backups, faster restores. Your daily backup job only needs to cover the database and theme/plugin files, not gigabytes of images. A site with an 8 GB uploads folder might drop to a few hundred MB per backup.
- You can downsize the VPS disk. If you provisioned extra disk specifically for media growth, that headroom is no longer needed — worth revisiting when your VPS is next up for renewal.
When this isn't worth doing
If your entire media library is under a gigabyte or two and your site gets modest traffic, the performance and cost difference will be marginal, and you're adding a moving part (an external dependency, another set of credentials to rotate) for not much benefit. This is worth doing when your uploads folder is genuinely large, when you're paying for VPS disk specifically to hold it, or when backup time has become annoying. If none of that applies yet, it's fine to leave media local and revisit this once it does.
Steps and pricing in this guide were verified against Cloudflare's official R2 documentation in August 2026. R2 setup screens change occasionally — if a dashboard label doesn't match exactly, the underlying steps (bucket, custom domain, API token) stay the same.

Comments 0
Be the first to comment.
Leave a comment